Table of Contents
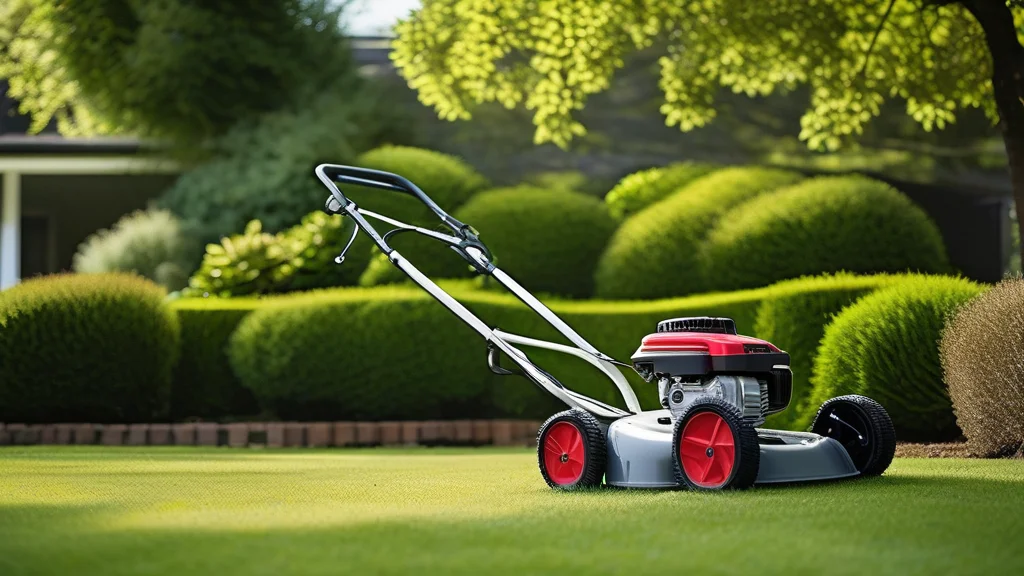
You load it, you run it, and you expect it to work. Yet, that trusty appliance in your kitchen is hiding a secret. The most common causes of a broken dishwasher aren't faulty parts or old age—they're the everyday habits you don't think twice about. The dishwasher repair call you dread is often a direct result of simple, preventable mistakes. Understanding these hidden pitfalls is the key to extending your appliance's life and avoiding unnecessary service bills. This guide will uncover the truth behind appliance failure and show you how to make smarter choices, whether you're tackling a simple fix or need to hire a professional for a complex dishwasher repair.
The Real Culprits: You, Not Your Machine
Your dishwasher is engineered to handle dirty dishes, not to compensate for owner neglect. The leading causes of malfunction stem from routine actions that seem harmless but create a cascade of internal problems. Pre-rinsing dishes is the most pervasive offender. Modern detergents and dishwashers are designed to latch onto food particles; without them, the detergent becomes overly aggressive and can etch glassware and damage the machine's interior. More critically, many models use a turbidity sensor—a device that measures how dirty the water is—to determine cycle length and water usage. Spotless water from pre-rinsing tricks the sensor into running an incomplete cycle, leaving residue that hardens and clogs the system.
Equally damaging is the misuse of detergent. Using the wrong type, like regular dish soap or laundry pods, creates a mountain of suds that flood the machine and can ruin the pump motor. Even with correct pods or packs, placing them in the silverware basket or just tossing them in the bottom is a mistake. They can dissolve prematurely in a pre-wash pool, wasting their cleaning power. The dispenser compartment is there for a reason: it releases detergent at the optimal moment in the heated main wash. Ignoring this can lead to poor cleaning and, over time, grease buildup that demands a professional dishwasher repair.
Important
Using rinse aid is not optional for most modern dishwashers. It lowers water surface tension to prevent spotting and, crucially, helps water sheet off dishes to improve drying. Skipping it forces the heater to work harder and can lead to moisture-related component failure.
Load organization seems trivial, but an imbalanced load is a silent killer. Blocking the spray arm's rotation with a large platter or bowl creates "dead zones" where dishes don't get clean. More severely, it puts uneven stress on the motor that drives the arm. This extra strain can burn out the wash motor over just a few cycles. Furthermore, failing to scrape large food chunks—like bones, pasta, or potato peels—leads directly to a clogged filter or drain. A blocked filter is the single most common reason for standing water at the bottom of your tub, which is often the first sign homeowners notice before a dishwasher repair is needed.
Common User Mistakes
- Over-Rinsing Dishes — Tricks sensors and wastes detergent, leading to residue buildup.
- Wrong Detergent Type — Using hand soap or pods in the wrong place causes suds and poor cleaning.
- Ignoring the Filter — A clogged filter is the #1 cause of drainage issues and odors.
- Blocking Spray Arms — Prevents proper cleaning and can burn out the wash motor.
Machine Killers to Avoid
- Salt in Non-Softened Machines — Corrodes internal parts if your water isn't hard.
- Overloading — Stresses racks, blocks water flow, and damages door seals.
- Using "Quick Wash" Exclusively — Doesn't get hot enough to dissolve grease, leading to buildup.
- Ignoring Strange Noises — Grinding or humming often signals an imminent pump failure.
Preventative Maintenance is Your Best Defense
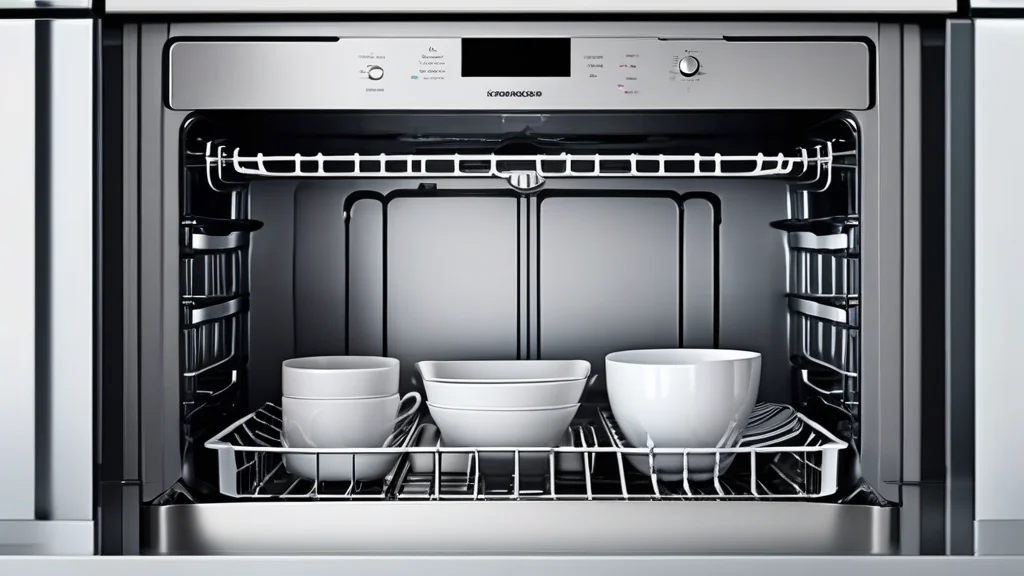
Averting a costly dishwasher repair starts with a consistent, simple maintenance routine. This isn't about complicated mechanical work; it's about smart habits that keep the machine running as designed. The cornerstone of this routine is weekly filter cleaning. Located at the bottom of the tub under the lower spray arm, this filter catches food debris. If it's clogged, water circulation stops, cleaning performance plummets, and you risk a flooded kitchen. Simply unscrew or lift out the cylindrical filter assembly, rinse it under warm water, and brush away any stuck-on gunk. Doing this every week takes five minutes but can prevent the most common service call.
Monthly deep cleaning tackles the issues you can't see. Over time, grease, soap scum, and mineral deposits from hard water coat the interior, spray arms, and door seals. This buildup reduces efficiency and causes odors. Run an empty cleaning cycle with a dishwasher cleaner or a cup of white vinegar placed on the top rack. For the spray arms, check the tiny holes for mineral deposits and clear them with a toothpick. This ensures powerful water jets that actually clean your dishes. Don't forget to wipe down the door gasket with a damp cloth to remove mold and food particles that can degrade the seal and cause leaks.
Spending 10 minutes a month on preventative maintenance can add years to your dishwasher's life and save you hundreds of dollars on emergency dishwasher repair calls. The filter, spray arms, and door seal are your three key checkpoints.
Your water quality plays a massive role in appliance longevity. If you live in an area with hard water, those minerals (calcium and magnesium) will rapidly accumulate as limescale inside the heating element and pipes. A scaled-up heating element has to work much harder, using more energy and eventually failing. This is why many dishwashers have a built-in water softener that requires periodic refilling with special salt. Check your owner's manual. If your model has this reservoir, keeping it filled is non-negotiable. For areas with extremely hard water, even with a softener, using a rinse aid is critical to prevent spotting and mineral buildup on dishes and components.
- Clean the Filter Weekly
Locate the filter at the bottom of your dishwasher, remove it according to your manual's instructions, and rinse all parts thoroughly under running water. Reassemble it correctly to ensure a proper seal.
- Inspect and Clean Spray Arms Monthly
Remove the lower and upper spray arms by unscrewing the central cap. Check all spray holes for clogs and use a toothpick or pipe cleaner to clear any debris. Rinse the arms and reinstall.
- Run a Monthly Cleaning Cycle
Place a commercial dishwasher cleaner or a cup of white vinegar on the top rack. Run the machine on the hottest, longest cycle (like "Sanitize" or "Heavy Wash") while empty to dissolve internal grease and mineral deposits.
Troubleshooting Before You Call for Dishwasher Repair
When your dishwasher acts up, your first instinct might be to pick up the phone. However, over 40% of service calls are resolved by the homeowner with basic troubleshooting, saving the cost of a diagnostic fee. Start with the simplest solutions. If the dishwasher won't start at all, check that the door is latched securely and that the unit is receiving power. Ensure the circuit breaker hasn't tripped and that the unit is plugged in (if it's a plug-in model). A control panel lock, often activated by holding a button for three seconds, can also mimic a complete failure.
Poor cleaning performance is a frequent complaint. Before you blame the machine, audit your process. Are you using a detergent formulated for hard water if needed? Is the water heater set to at least 120°F? Dishwashers heat their own water, but they start with your home's hot water supply. If it's too cold, the cycle won't be effective. Check that the spray arms rotate freely and aren't blocked. Finally, ensure you're loading dishes so water can reach all surfaces—avoid nesting bowls or placing items directly in front of the detergent dispenser.
Did You Know?
A humming sound that doesn't lead to water filling usually indicates a jammed pump impeller. Often, a small piece of glass, a toothpick, or a bone is stuck in the pump. Turning off power and checking the drain area can sometimes resolve this without a technician.
Water not draining is a clear sign of a blockage. Nine times out of ten, the problem is in the filter or the drain hose. First, clean the filter thoroughly as described earlier. Next, check where the drain hose connects to the sink's drain pipe or garbage disposal under your sink. A kink in the hose or a clog at the connection point is common. You can often disconnect the hose (place a towel and bucket underneath first) and clear any debris. If the dishwasher is leaking, immediately identify the source. Is it from the door seal, the tub, or underneath? A leak from the door often just requires cleaning the gasket or ensuring the unit is level.
| Symptom | Likely DIY Fix | Probable Professional Dishwasher Repair |
|---|---|---|
| Not Starting | Check door latch, circuit breaker, child lock. | Faulty door switch, control board, or wiring. |
| Not Cleaning Well | Clean filter/spray arms, check detergent, ensure hot water supply. | Failed heating element, malfunctioning water inlet valve. |
| Not Draining | Clear filter, check drain hose for kinks/clogs under sink. | Clogged drain pump, faulty drain solenoid, obstructed drain line. |
| Making Loud Noise | Remove obstruction from spray arm or pump area, check for loose utensil. | Worn wash motor bearings, damaged pump, foreign object deep in pump. |
| Leaking Water | Clean door gasket, ensure unit is level, check drain hose connection. | Cracked tub, faulty door seal, leaking water inlet valve. |
When to Hire a Pro for Dishwasher Repair
While DIY spirit is commendable, some problems unequivocally require a trained technician. Recognizing these limits can prevent you from causing further damage or creating a safety hazard. Any issue involving internal electrical components or the main control board is a professional's domain. If you've confirmed power is reaching the appliance but it remains completely dead, the problem is likely on the electronic control panel. These are complex, model-specific components that require precise diagnosis and programming. Similarly, a persistently leaking tub or a cracked interior plastic shell often means a major, costly repair or replacement.
The heating element is another critical component. If your dishes are consistently coming out wet and cold at the end of a cycle, the heating element may have failed. While it's sometimes accessible, testing it requires a multimeter and working near high-voltage connections. A faulty element can also be a symptom of a bad thermostat or a wiring issue. Furthermore, problems with the water inlet valve—which controls the fill of water—or the drain pump motor usually require disassembly of the machine's lower panel and working with plumbing connections. Mistakes here can lead to water damage.
HomeProMatcher
Instead of searching endlessly for a reliable technician, services like HomeProMatcher simplify the process. You describe your dishwasher repair issue once, and they match you with local, licensed, and pre-vetted appliance pros. It connects you directly to a qualified technician for a consultation, eliminating the guesswork and time spent on background checks. This can be especially valuable when you need a trustworthy diagnosis for a complex problem.
You should also call a pro if your troubleshooting hits a dead end. If you've cleaned the filter, checked the drain hose, and ensured there are no blockages, but the unit still won't drain, the drain pump itself is likely faulty. A grinding or screeching noise from the pump area during the drain cycle is a telltale sign. Replacing a pump is a moderate-level repair. The decision often comes down to a cost-benefit analysis: is the dishwasher repair cost, including parts and labor, less than 50% of the price of a comparable new unit? If yes, and the appliance is otherwise in good shape, repair is usually the economical choice.
Signs You Need Professional Help
- No Power After Basic Checks — You've verified power at the outlet and a reset breaker, but the unit is completely unresponsive.
- Error Codes on Display — Modern dishwashers flash specific error codes (like F2, E3, etc.) that require technical manuals to diagnose.
- Major Water Leak from Tub — A crack or split in the inner tub or door liner that you can see and feel.
- Constant Burning Smell — Indicates an electrical short or a seized motor that is overheating, posing a fire risk.
- Repeated Drain Failures — You've cleared all visible clogs, but the pump still won't evacuate water.
Finding the Right Technician for Your Dishwasher Repair
Hiring the right professional is as important as the repair itself. A qualified technician provides a lasting fix, while a subpar one can lead to recurring problems and more expense. Always start by verifying licensing and insurance. A legitimate appliance repair company should hold a valid state or local business license and carry liability insurance. This protects you if something goes wrong in your home during the service. Don't hesitate to ask for proof; reputable companies will provide it willingly.
Experience with your specific brand is a huge plus. While many repairs are similar across brands, some manufacturers (like Bosch, Miele, or KitchenAid) have unique design features and parts. A technician familiar with your brand will diagnose faster and likely have the correct parts in their van. Seek out verified customer reviews on independent platforms like Google, BBB, or Yelp. Look for patterns in feedback: are they praised for honesty and clear communication, or criticized for hidden fees and return visits? A pattern of positive reviews is a strong indicator of reliability.
When you get a quote, insist it be in writing and detailed. It should break down the diagnostic fee, labor cost per hour, and estimated parts cost. Ask if the diagnostic fee is waived if you proceed with the dishwasher repair. A transparent quote avoids nasty surprises on the final bill.
Before the technician arrives, be prepared. Know your dishwasher's exact model number (usually on the side of the door frame) and be able to describe the problem clearly: when it started, what cycle it happens on, and any unusual sounds or error codes. Get multiple estimates for any repair expected to cost over $200. Price variation can be significant, and it gives you leverage and choice. However, remember that the cheapest option isn't always the best. Weigh the estimate against the company's reputation, warranty offered on parts and labor (aim for at least 90 days), and your comfort level with their professionalism.
The Cost of Dishwasher Repair vs. Replacement
This is the ultimate financial decision in the dishwasher repair journey. The math is straightforward but requires current data. On average, a single dishwasher repair costs between $150 and $400, with complex issues like a control board or tub replacement pushing toward $500-$700. The national average sits around $245. Compare this to the price of a new, reliable mid-range dishwasher, which typically starts at about $550-$800, plus installation costs of $100-$200. The standard rule of thumb is the "50% Rule": if the repair cost exceeds 50% of the price of a comparable new unit, replacement is usually more economical.
But cost isn't the only factor. Consider the age of your appliance. The average lifespan of a dishwasher is 10 years. If your machine is 8 years old and needs a $300 repair, you're investing in a unit that's near the end of its expected life. You might fix one component only to have another fail six months later. Also, evaluate energy and water efficiency. Newer Energy Star-rated models use significantly less water and electricity. The monthly savings on your utility bills could help justify the upgrade over sticking with an older, repaired model that's less efficient.
Finally, think about performance and features. Has your old dishwasher never cleaned to your satisfaction? Was it noisy? Modern dishwashers offer third racks, ultra-quiet operation, soil sensors, and specialized cycles. If a repair merely restores mediocre performance, an upgrade might bring tangible quality-of-life improvements. However, if your current model is less than 5 years old, a high-end brand, and the repair is minor (like a door latch or a simple pump replacement), a professional dishwasher repair is almost certainly the smarter financial move. It extends the life of a substantial investment.
Use the 50% Rule as your primary guide: if the repair quote is more than half the cost of a comparable new dishwasher, replacement is likely better. Always factor in the appliance's age, efficiency, and your satisfaction with its performance when making the final call.
Making the Decision: A Simple Checklist
- Get a Detailed Repair Quote
Obtain a written estimate that includes parts, labor, and any diagnostic fees. Ask about the warranty on the repair work.
- Research Replacement Costs
Price out a similar-capacity, mid-range replacement dishwasher, including delivery, installation, and haul-away of the old unit.
- Apply the 50% Rule
If Repair Cost > (0.5 x New Appliance Cost), lean toward replacement. If less, lean toward repair.
- Consider Age & Efficiency
If the dishwasher is over 8 years old or lacks modern water/energy efficiency, replacement offers long-term savings.
Frequently Asked Questions
For optimal performance and to prevent the need for a dishwasher repair, clean the filter at least once a month. If you run your dishwasher daily or have particularly dirty loads, consider checking and rinsing it every two weeks. A clogged filter is the most common preventable cause of drainage issues.
It depends entirely on the repair cost and the unit's history. A minor repair under $200 on a reliable 7-year-old model is usually worthwhile. However, a major repair like a control board or tub replacement costing $400+ on a basic model suggests it's nearing the end of its lifespan, and replacement may be the wiser long-term investment.
The control board or electronic control panel is typically the most expensive single part, often costing $150-$300 for the part alone. The inner tub or door liner is also very costly to replace, and the labor for either job is intensive, which can push total repair bills toward the $500-$700 range.
Yes, white vinegar is an excellent, affordable cleaner for mineral deposits and grease. Place a cup of vinegar in a dishwasher-safe bowl on the top rack and run a hot, empty cycle. Do not pour vinegar directly into the detergent dispenser, as it can damage the seals. For heavy buildup, use a commercial dishwasher cleaner monthly.
Start by asking for recommendations from friends or neighbors. Always verify the company's license and insurance. Read recent, verified online reviews focusing on punctuality, pricing transparency, and repair quality. Platforms that pre-vet providers, like HomeProMatcher, can save time by connecting you directly to local, qualified professionals.